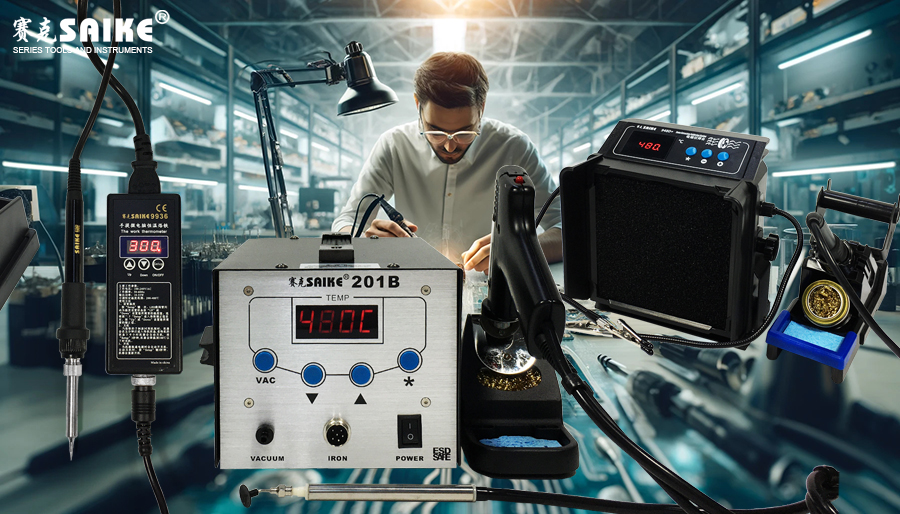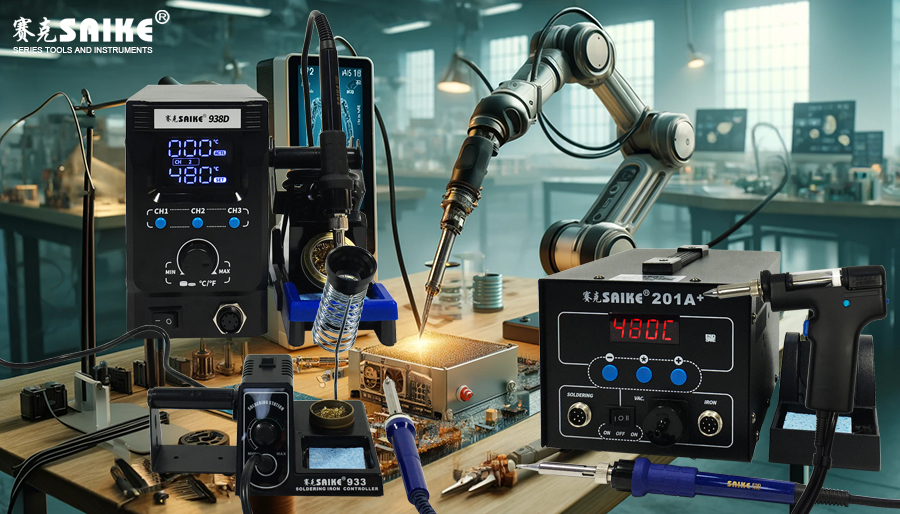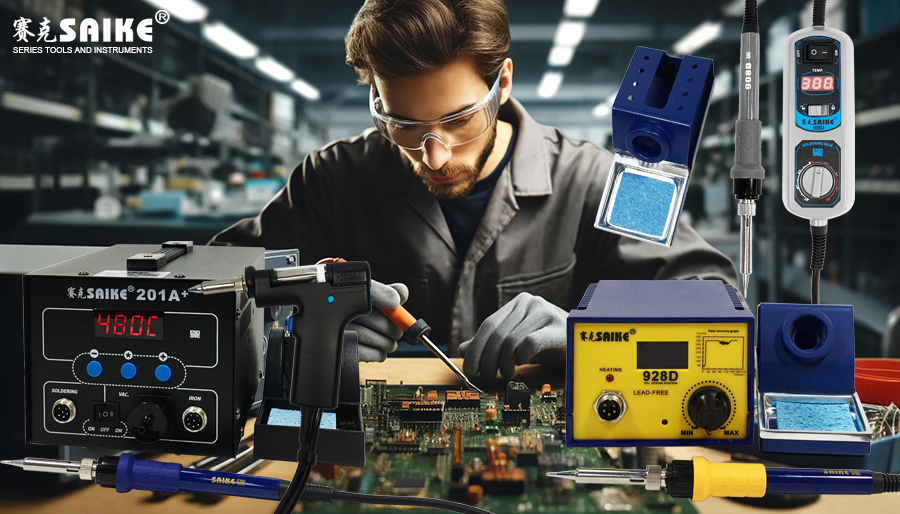
The electric soldering iron, a seemingly simple tool, plays a pivotal role in the electronics field. Whether it’s daily maintenance, electronic production, or scientific research experiments, it is indispensable. Today, I will share several practical cases of using an electric soldering iron and discuss the experiences and skills gained in the process.
Case 1: Repairing a Damaged Circuit Board
Once, an old audio amplifier suddenly failed. After a preliminary inspection, it was found that a key resistance had a cold solder joint, which caused the problem. Faced with this issue, I quickly took out the electric soldering iron to prepare for re-soldering.
Experience Sharing:
- Preparation: Before soldering, ensure that the work area is clean and tidy to avoid short circuits caused by debris. At the same time, check that the soldering iron and soldering wire are properly prepared.
- Temperature and Speed: Choosing the right soldering iron temperature is crucial. Excessively high temperatures may damage the circuit board, while too low temperatures may not allow effective soldering. soldering should be done quickly and accurately to reduce heat impact on surrounding components.
- Soldering Skills: When soldering small components like resistors, the “spot welding” method can be used, which involves quickly touching the soldering iron to the solder joint and immediately removing it to avoid overheating.
Case 2: DIY LED Flashing Circuit
To learn electronic production, I decided to DIY a simple LED flashing circuit. During this process, the soldering iron became my best assistant.
Experience Sharing:
- Choosing the Right Components: When purchasing components, ensure their specifications and quality meet the circuit requirements. For example, the voltage and current parameters of the LED should match the circuit design.
- Layout and Soldering: Arrange the components reasonably on the circuit board to reduce electromagnetic interference and signal loss. During soldering, pay attention to the appearance and firmness of the solder joints to avoid cold solder joints.
- Testing and Debugging: After soldering, detailed testing is essential. If the circuit doesn’t work, don’t rush to dismantle it. Instead, first check the soldering quality and component connections.
Case 3: Modifying Old Appliances
I had an old-fashioned radio at home with limited functions and an outdated style. I decided to modify it using a soldering iron to add some modern features.
Experience Sharing:
- Understanding the Original Circuit: Before modification, deeply understand the original circuit of the appliance to avoid damaging its original functions during the modification process.
- Safety and Protection: Safety should always be a top priority during electrical appliance modification. Consider installing a fuse or protection circuit at the power supply to prevent short circuits and overloads.
- Innovation and Aesthetics: During the modification process, try adding innovative elements like LED displays or Bluetooth modules. At the same time, maintain the overall aesthetics.
Summary and Reflection
Through these practical cases, I deeply understood the importance of the soldering iron in the electronics field. Using a soldering iron requires not only basic soldering skills but also rich electronic knowledge and practical experience. Safety always comes first, so we must always be vigilant.
In the future, I will continue to deeply study and practice electronic production and maintenance techniques, constantly exploring more application scenarios for the soldering iron. I hope that sharing these experiences and skills will inspire more people’s interest and enthusiasm for electronic technology.

