Circuit boards play a crucial role in electronic devices, carrying key functions. Therefore, their maintenance and repair are essential to ensure the continuous and normal operation of the equipment. In the process of circuit board repair, soldering on a soldering station is a basic and critical skill that involves removing faulty components, installing new ones, and ensuring reliable connections. This article will introduce soldering operations on a soldering station during circuit board repair, including required tools, steps, and techniques, as well as how to ensure soldering quality.
I. Preparation
1.Tools and Materials
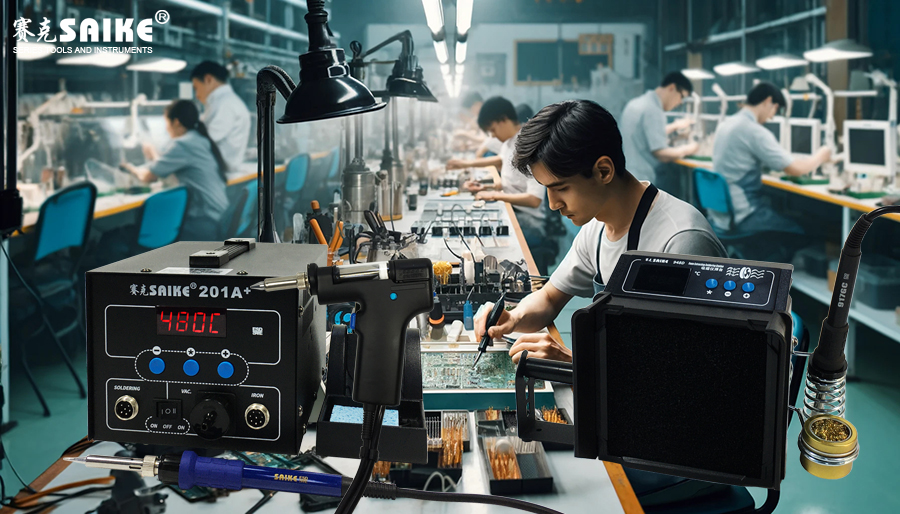
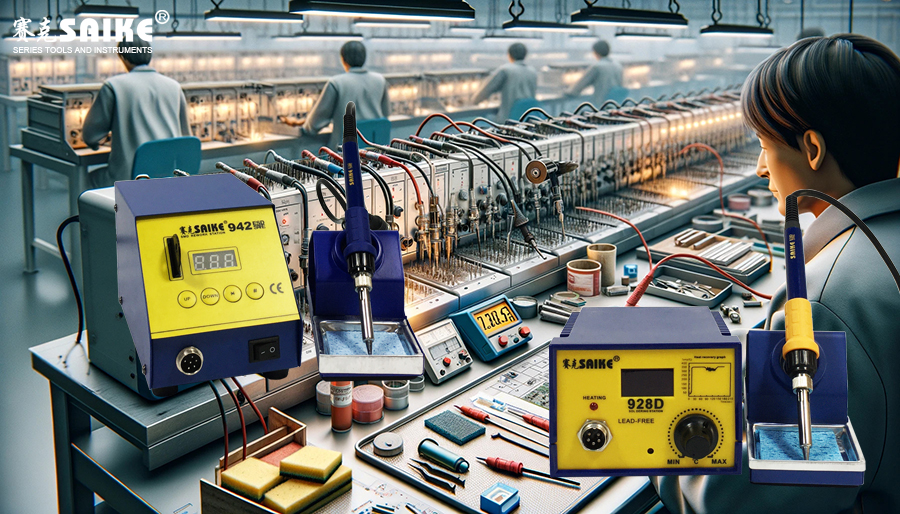
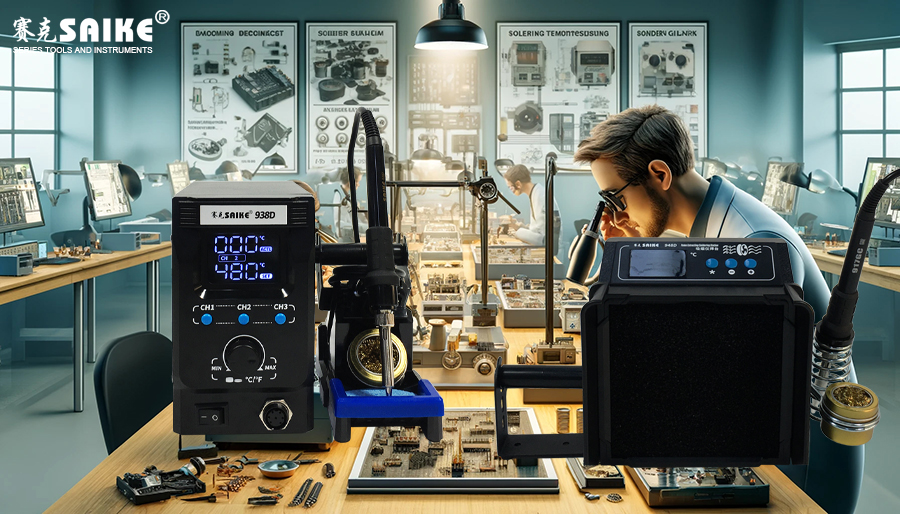
– Soldering Station: It should have a temperature adjustment function to adapt to different soldering needs for various materials and components.
– Soldering Iron and Tips: Choose a fine-tipped soldering iron suitable for circuit board soldering.
– Solder: Typically, lead-free solder is used to meet environmental requirements, or traditional tin-lead solder.
– Flux: Use appropriate flux to help remove oxidation and improve soldering quality.
– Solder Wick or Solder Sucker: Used to remove old solder and clean solder pads.
– Magnifying Glass or Microscope: Used for precise observation of solder joints.
– Cleaner: Used to clean the soldering area and remove grease, dust, and residual flux.
– Anti-static Equipment: Such as anti-static bracelets, to ensure that sensitive components are not damaged during operation.
2.Environmental Preparation
– Ensure that the work area is clean and well-ventilated to avoid harmful fumes and dust accumulation.
– The work surface should be stable to avoid vibration affecting soldering accuracy.
II. Soldering Operation Steps
1.Removing Faulty Components
– First, use a solder sucker or solder wick to remove the old solder around the component pins.
– Gently heat the component pins and unsolder them from the solder pads one by one. Be careful not to damage the circuit board due to excessive temperature.
– Clean the residual flux and solder around the components and solder pads.
2.Cleaning and Preparing Solder Pads
– Use appropriate cleaners to clean the solder pad area, ensuring no residual impurities or oxidation layers.
– Check the solder pads for damage and repair or reinforce them if necessary.
3.Installing New Components
– Lightly apply new flux to the solder pads.
– Precisely place the new components and use tweezers to fix them in the correct position.
– Preheat the soldering station to a suitable soldering temperature, usually 20-30°C higher than the melting point of the solder.
4.Soldering
– Guide the solder wire to the tip of the soldering iron and bring it into contact with the connection between the component pins and the solder pads.
– Briefly heat to allow the solder to naturally flow and cover the solder joints, forming a complete solder connection.
– Solder all the pins one by one, keeping the solder joints neat and uniform.
III. Inspection and Testing
– After soldering, use magnification equipment to inspect each solder joint, ensuring no cold solder joints, false solder joints, or bridging.
– Test the circuit functionality after soldering to ensure that the newly installed components are working properly and there are no short circuits or open circuits.
IV. Post-Completion Cleanup
– Clear the work area, especially removing all residual solder fragments and flux.
– Use appropriate cleaners to clean the soldering area and remove residues that may affect circuit performance.
V. Conclusion
Soldering on a circuit board requires a high degree of precision and technical proficiency. By strictly following the aforementioned steps and techniques, electronic devices can be effectively repaired and restored to functionality. Continuous practice and experience accumulation are crucial for improving soldering skills, and it is also necessary to constantly update knowledge and tools to adapt to changing electronic technologies. Proper soldering operations not only improve repair efficiency but also ensure the long-term stable operation of the equipment.